Getting Started with ngrok
This guide will get you up and running with the ngrok agent, giving you a secure way to access your local service from anywhere in the world.
We'll do this in four steps:
- Starting a local service
- Installing the ngrok agent
- Connecting your agent to your ngrok account
- Start ngrok
Step 1: Starting a local web service
First, you'll need some sort of web service running on your machine. It should be available at http://localhost:{any port}. If you already have one, you can skip to Step 2. If not, we'll set one up using Python SimpleHTTPServer (ngrok actually has a built in file server but let's not worry about that now).
If you don't have a web service running, you can set one up for this demo using Python SimpleHTTPServer.
- Create a new directory, we'll call it
~/ngrok-rocks - Move into that directory and create a file named
index.htmlwith a single line of text:Hello, World! - From that folder, run
python3 -m http.server. This will start a web server on port 8000 serving the contents of that directory. - Open
http://localhost:8000in your browser
You should see Hello, World! in your browser. If you have any trouble getting things working, see this page for help.
Unfortunately, this service is only available on your local machine for now. Now let's use ngrok to securely share it with the world. For the rest of this guide, we will assume we're working with a web service running at http://localhost:8000 but you should adjust the following commands to match your configuration.

Step 2: Install the ngrok Agent
The ngrok agent is the command line application that you will use to start your tunnels. The easiest way to get started is to use your favorite package manager to install ngrok.
For MacOS, use Homebrew:
Loading…
For Linux, use Apt:
Loading…
For Windows, use Chocolatey:
Loading…
You'll need to run this in an Administrator Command Prompt.
If you don't have one of these package managers installed or prefer to install the ngrok agent yourself, visit the ngrok Download page for instructions and links.
You can test everything is working by running ngrok -h which should print the help text for the ngrok agent.
Loading…
Step 3: Connect your agent to your ngrok account
Now that the ngrok agent is installed, let's connect it to your ngrok Account. If you haven't already, sign up (or log in) to the ngrok Dashboard and get your Authtoken. The ngrok agent uses the authtoken (sometimes called tunnel credential) to log into your account when you start a tunnel.
Copy the value and run this command to add the authtoken in your terminal.
Loading…
Step 4: Start ngrok
Start ngrok by running the following command.
Loading…
You should see something similar to the following console UI in your terminal.
Loading…
Now open the Forwarding URL in your browser and you should see your local web service. At first glance, it may not seem impressive, but there are a few key differences here:
- That URL is available to anyone in the world. Seriously, test it out by sending it to a friend.
- You are now using TLS (notice the 🔒 in your browser window) with a valid certificate without making any changes to your local service.
Since the whole world can access this URL, we need to secure it quickly. Let's stop the ngrok agent with ctrl+c.
Bonus Step 1: Securing your public endpoint
The ngrok agent allows you to dynamically add security to any public endpoint in a variety of ways with IP restrictions, HTTP Basic Authentication, OAuth 2.0, OpenID Connect, SAML, Webhook Verification, and even Mutual TLS.
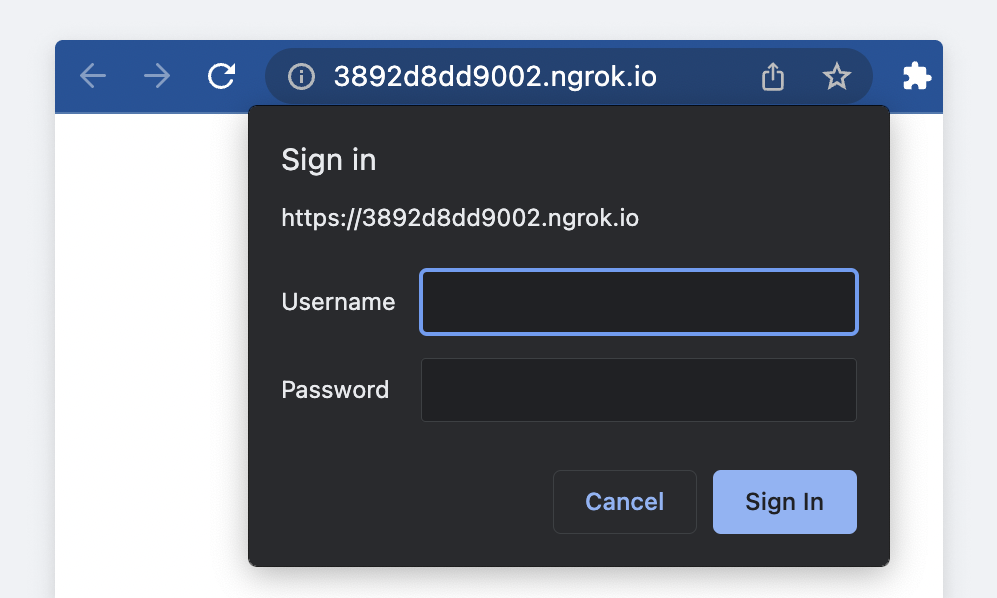
To start simply, let's add HTTP Basic Authentication to your endpoint.
Loading…
Now when you access the new ngrok URL in your browser, you should be prompted for a username and password.
By the way, if you have a paid plan and want to keep the same URL each time you restart, use the --url flag when starting the agent.
You now have a public URL for your web service secured by a username and password, still without modifying your web service.
Bonus Step 2: Add OAuth 2.0 to your web service
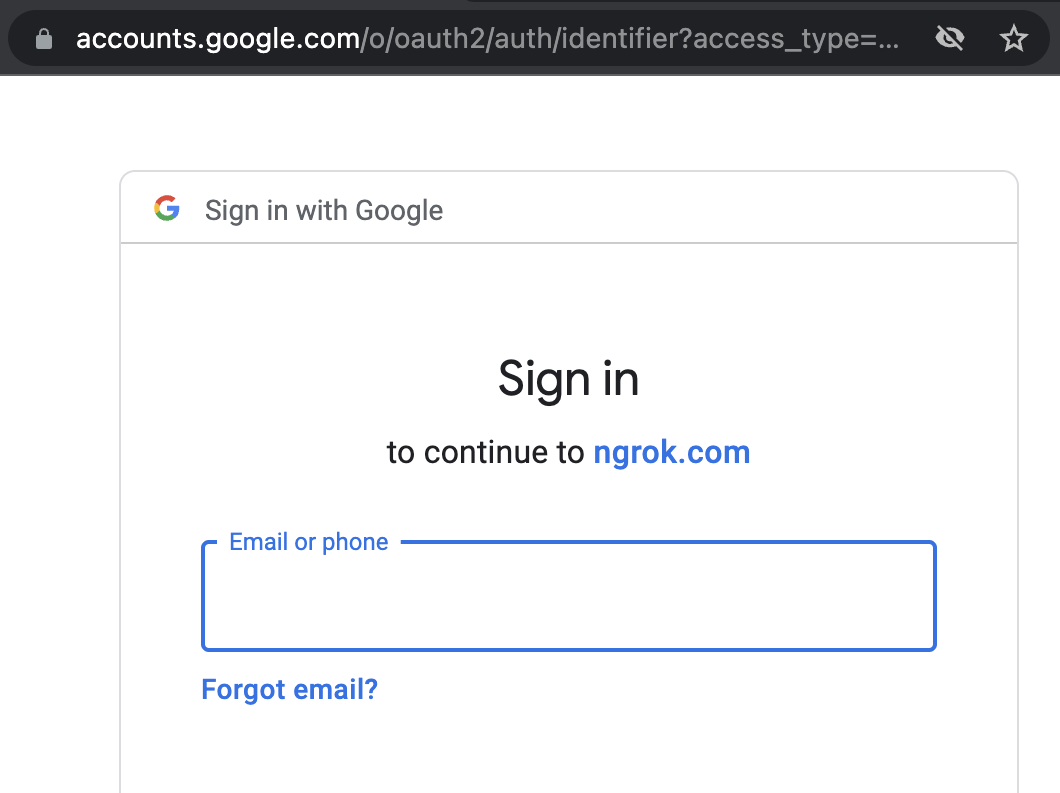
In most cases, you don't want to use a single set of shared credentials for all users (you can add as many basic auth credentials as you want, but still). Let's swap out Basic Auth for Google OAuth 2.0 in one line.
First stop the ngrok agent again (
Loading…
If you have a paid plan, you can explicitly specify the email addresses to allow with the --oauth-allow-email flag.
Now when you try to visit your new ngrok URL, you will be prompted to log in with your Google account (you can open in incognito to be sure). Again, this is without modifying your web service.
Next steps
That's it, but there's a lot more you can do with ngrok!
- Configure ngrok to use the same domain each time with
--url - Tunnel other non-HTTP services such as SSH, RDP, or game servers using TCP Tunnels
- Bring your own custom domains to ngrok
- Add your API key and automate via the
ngrok apicommand. - Use ngrok Edges to dynamically reconfigure traffic to your ngrok agents